
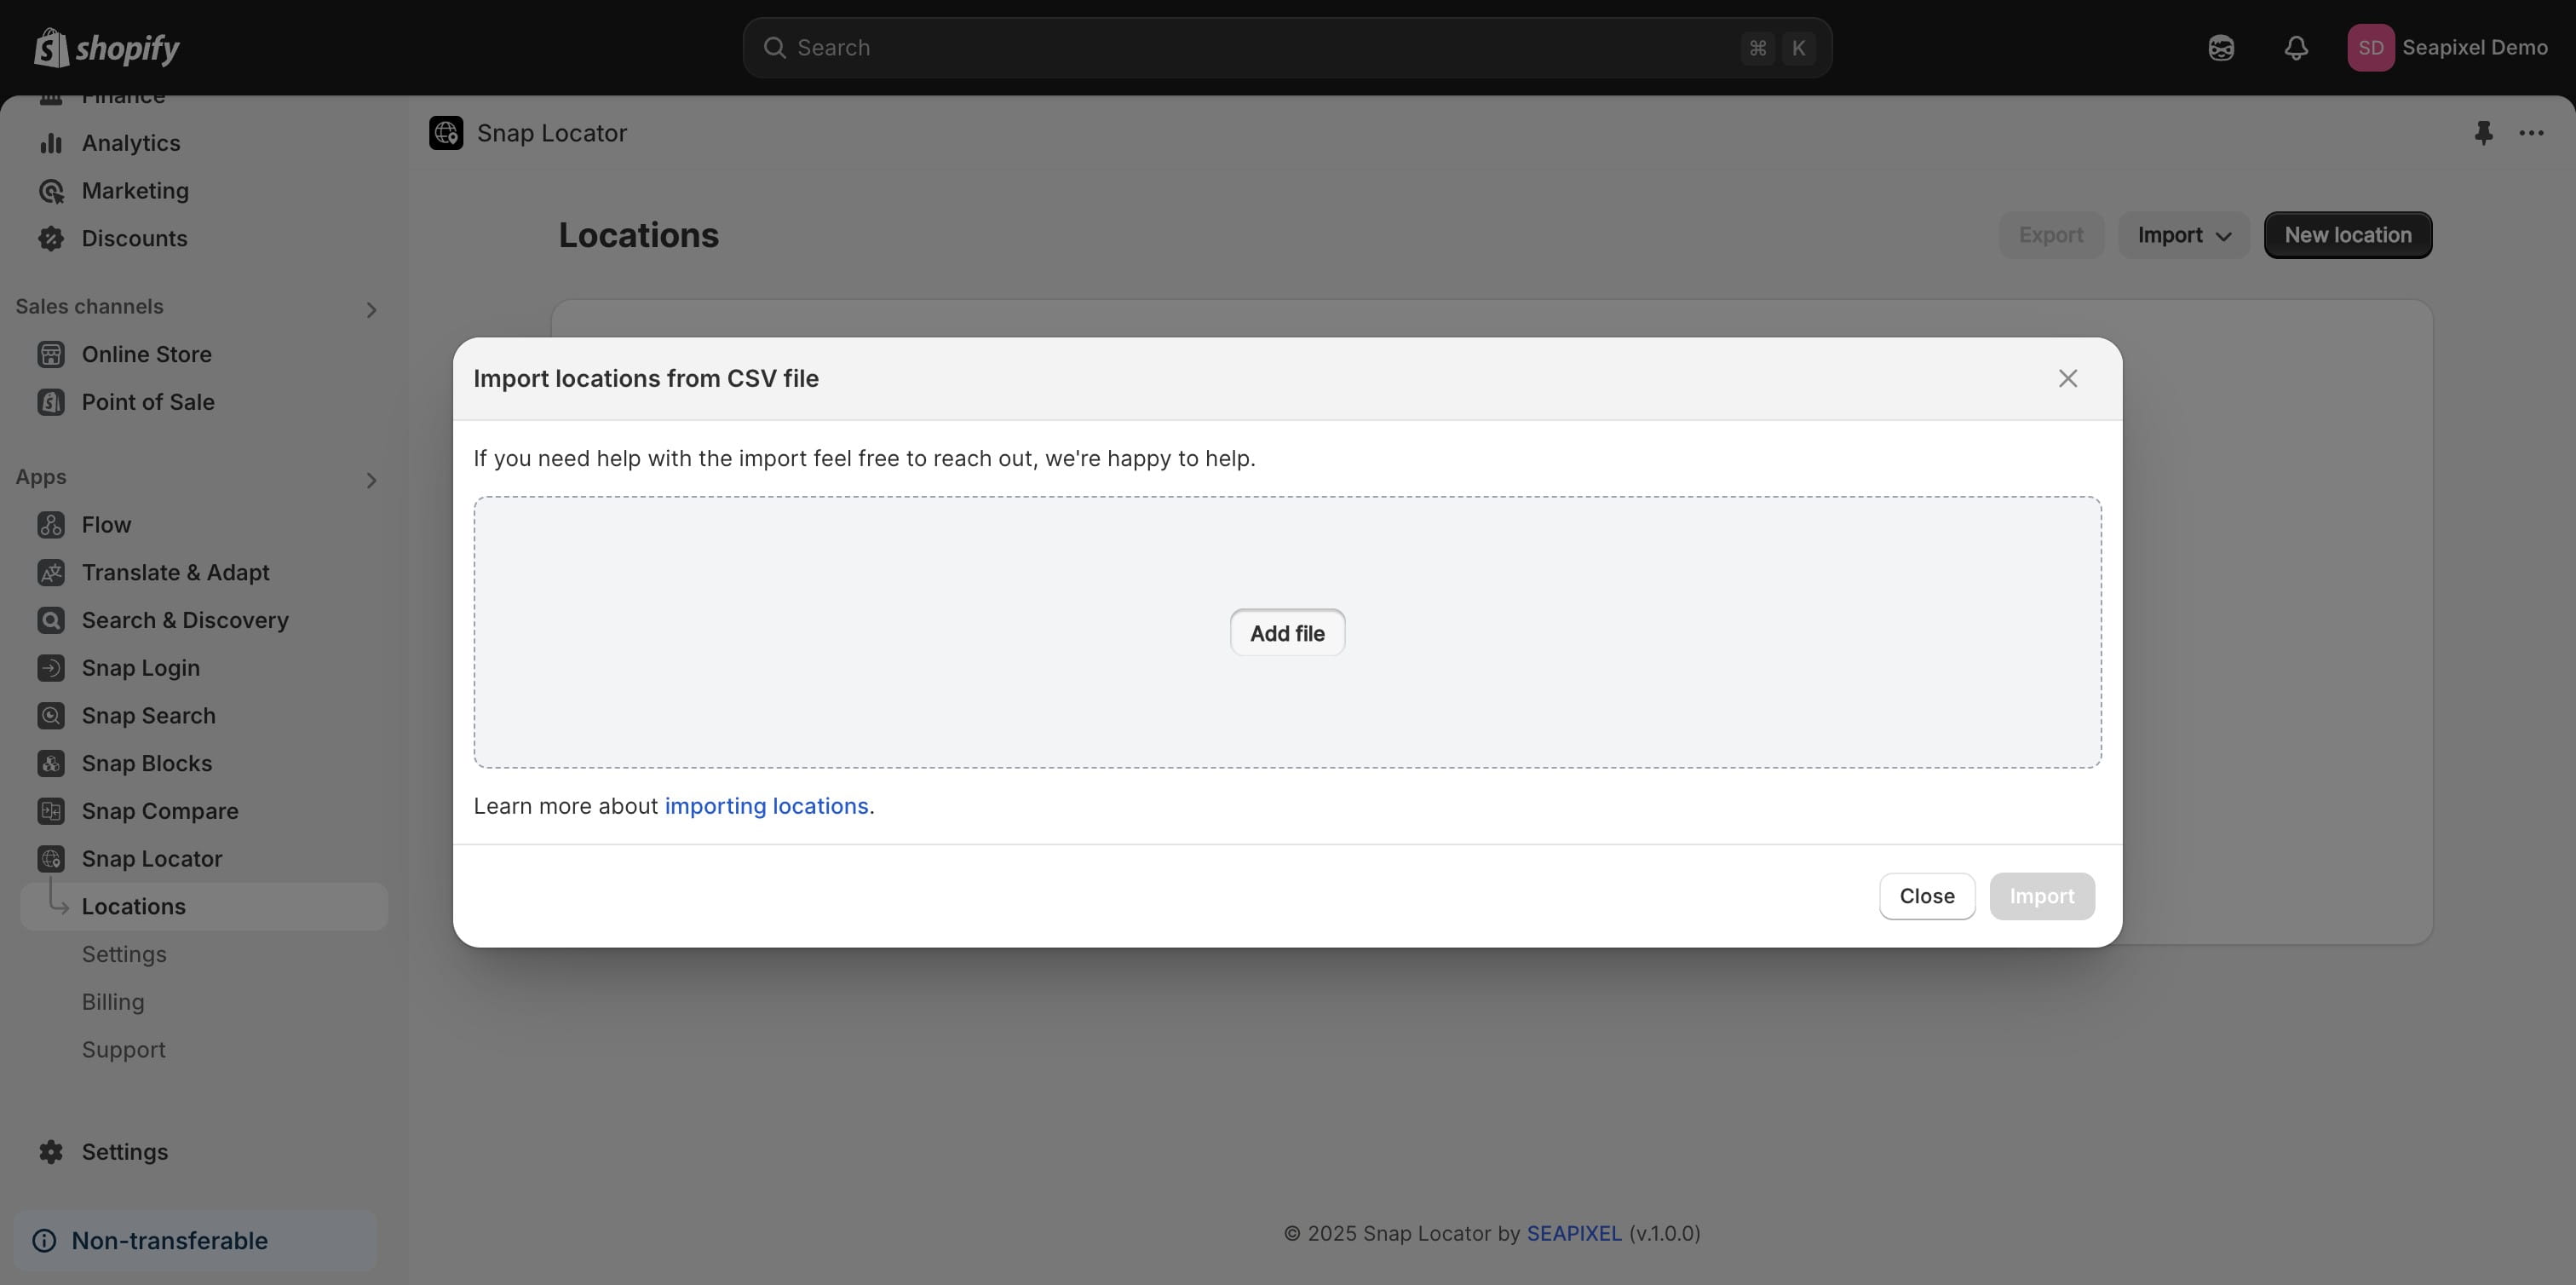
Import locations from CSV file
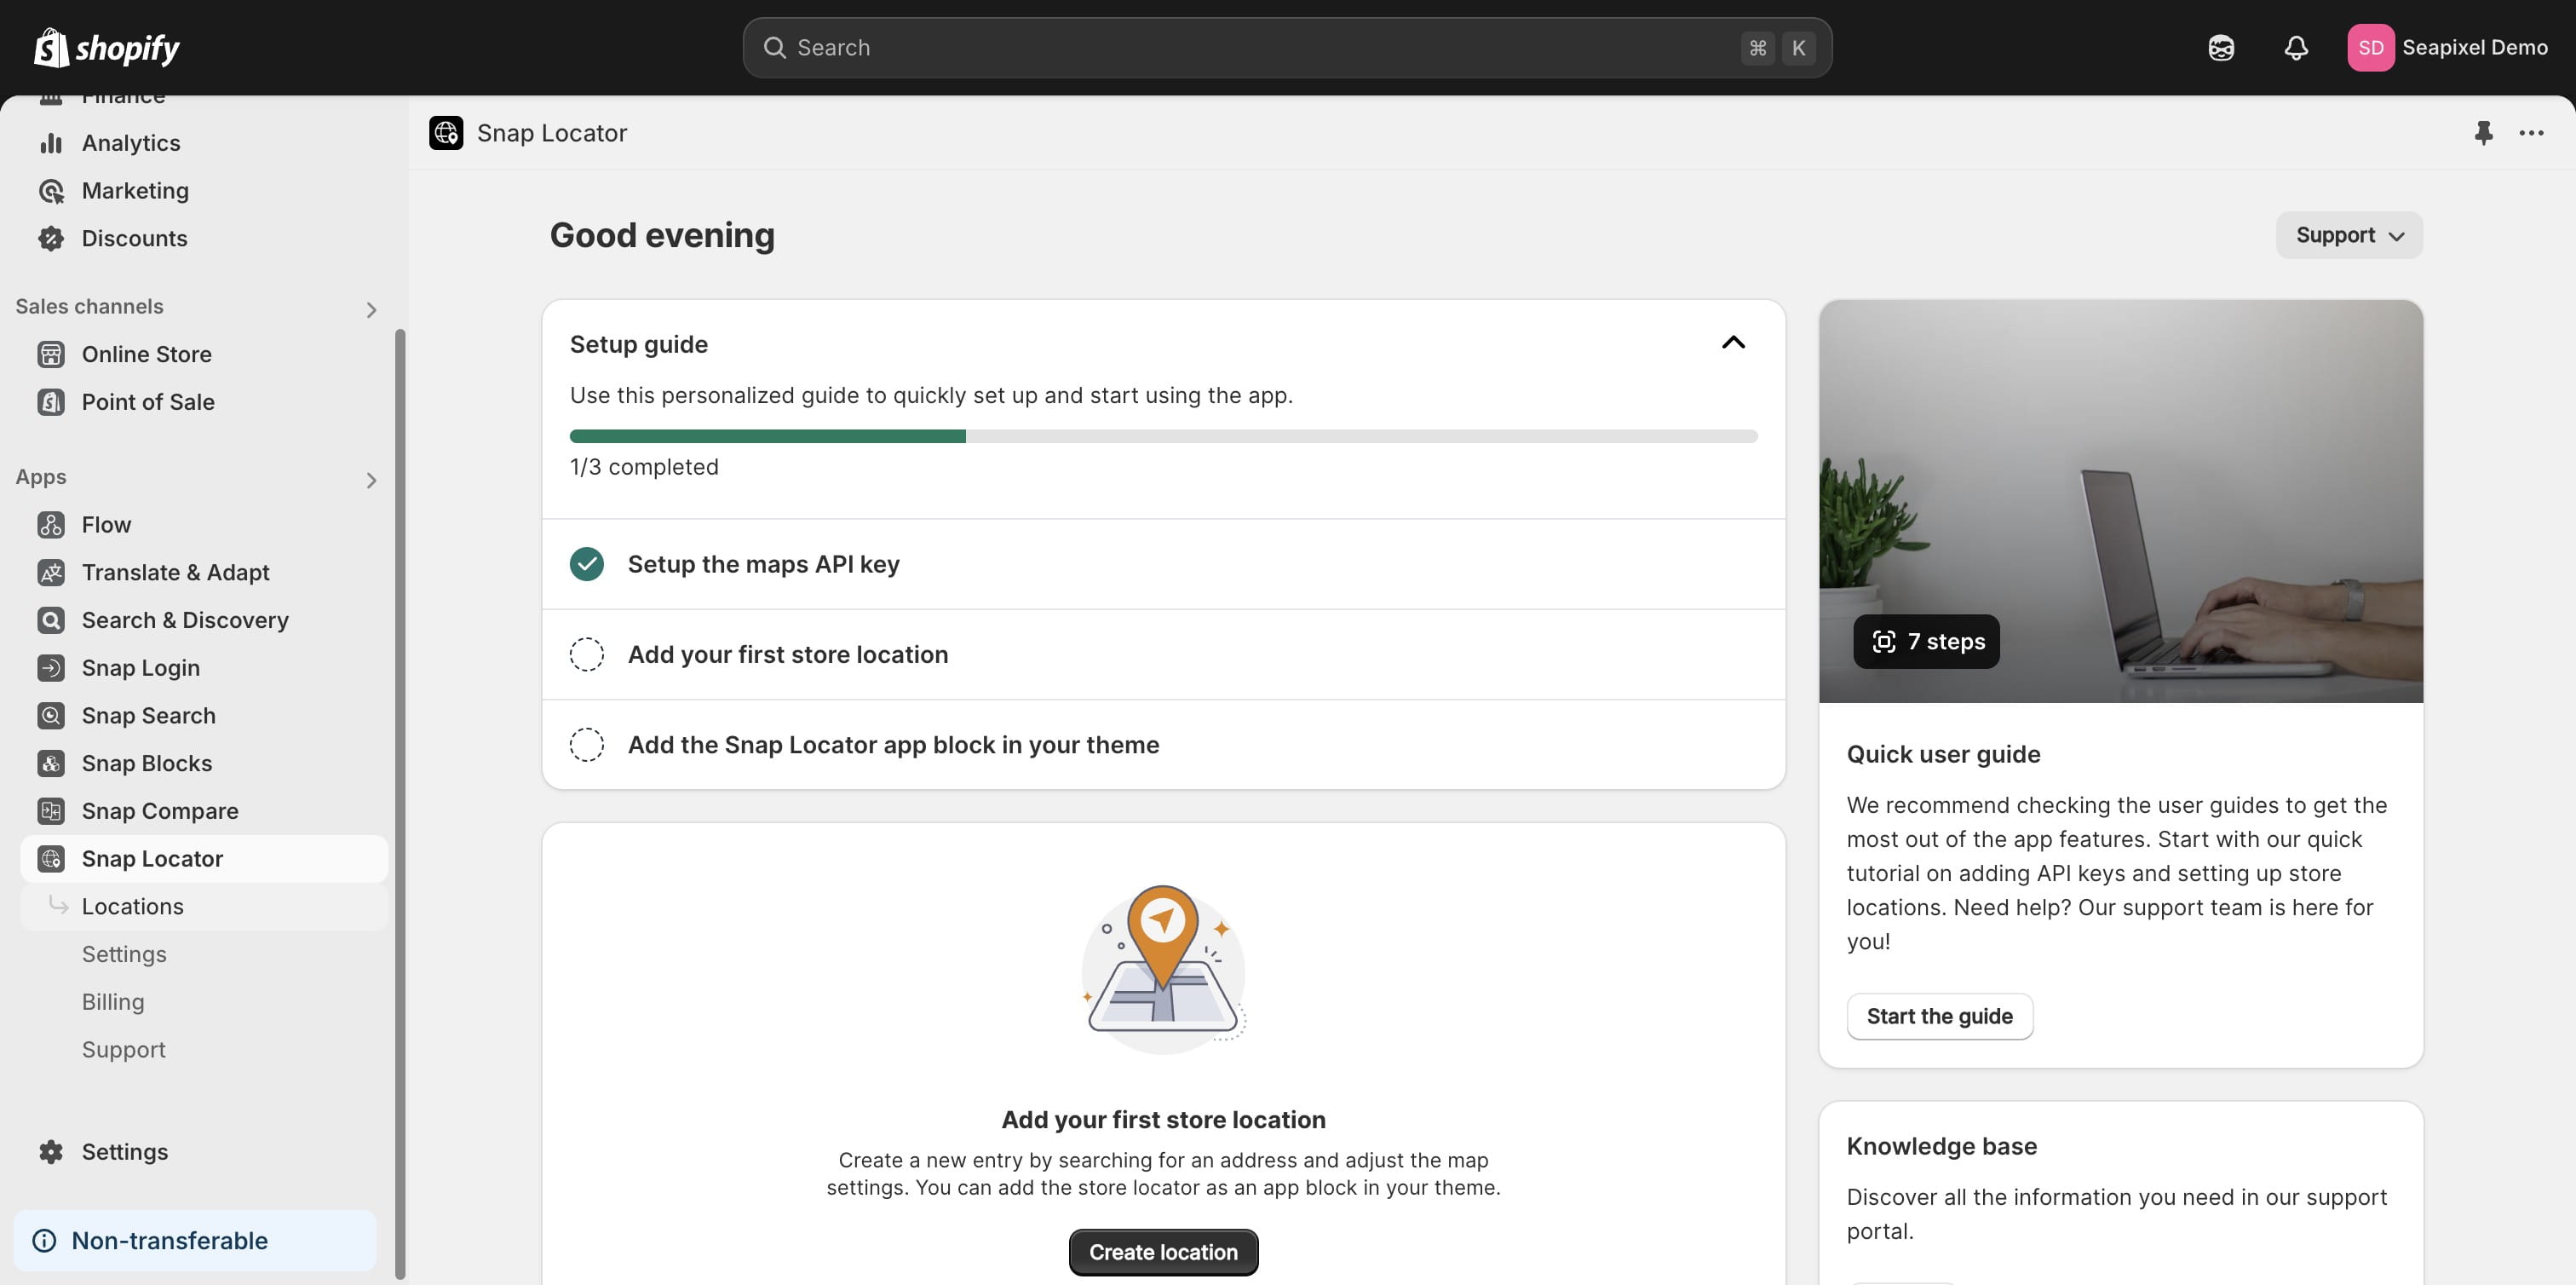
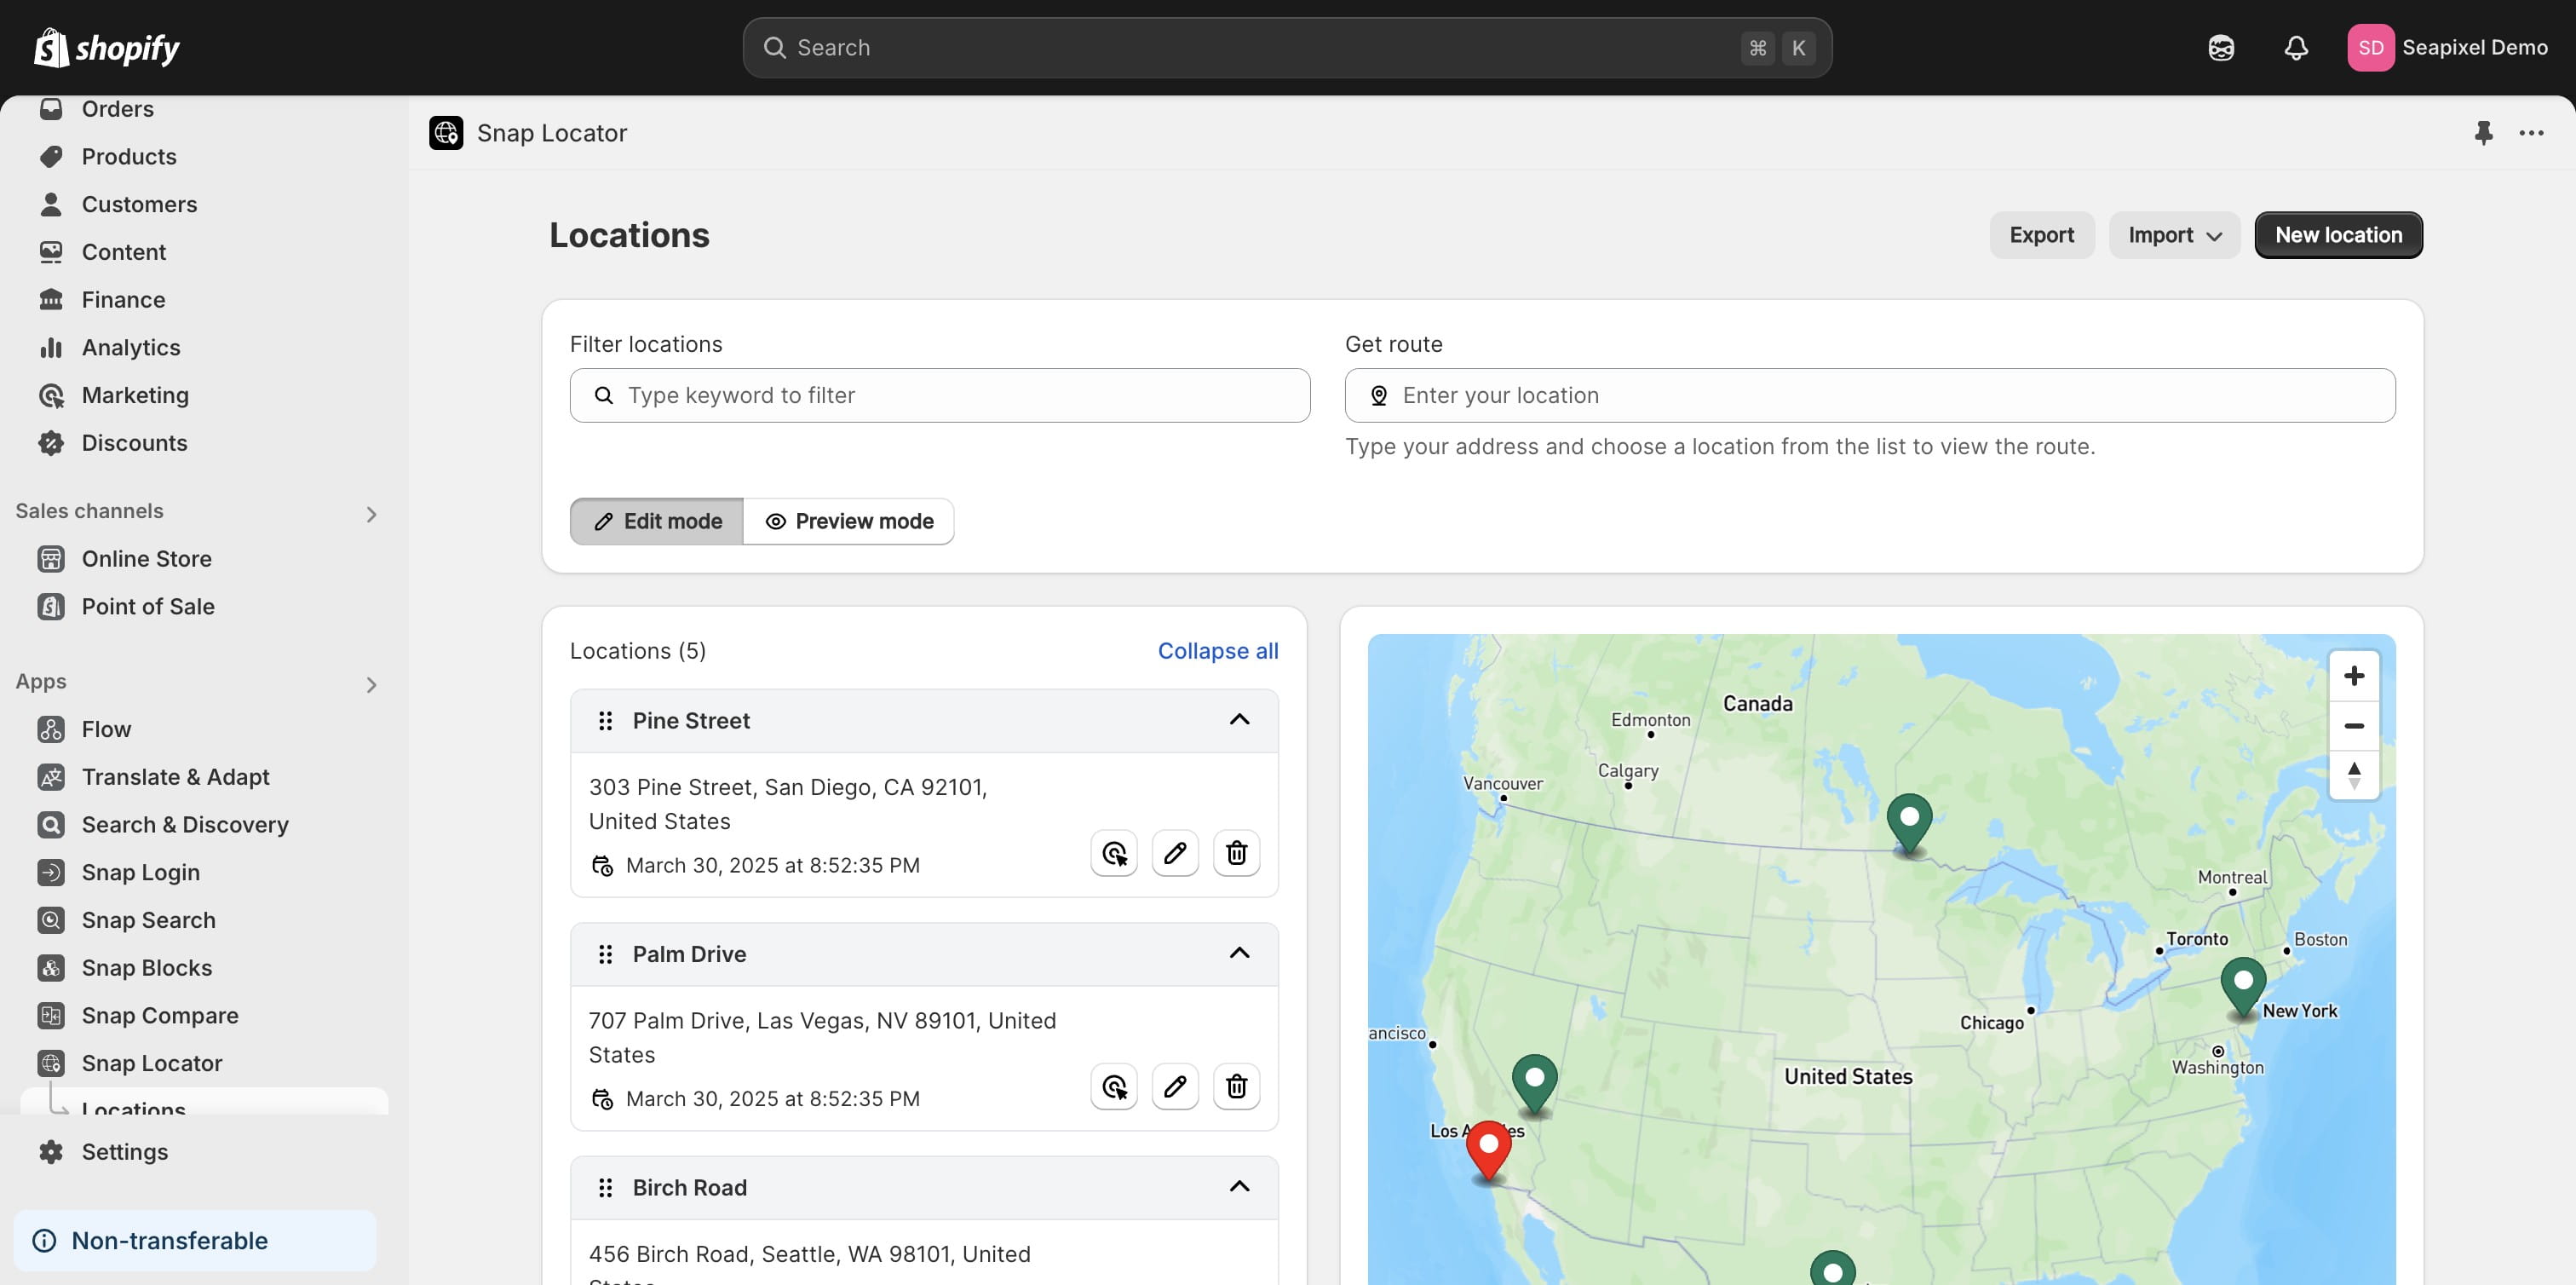
Click on "Locations"
Click "Download CSV sample", open the file, and review the fields that need to be filled in. Note that not all fields are required.

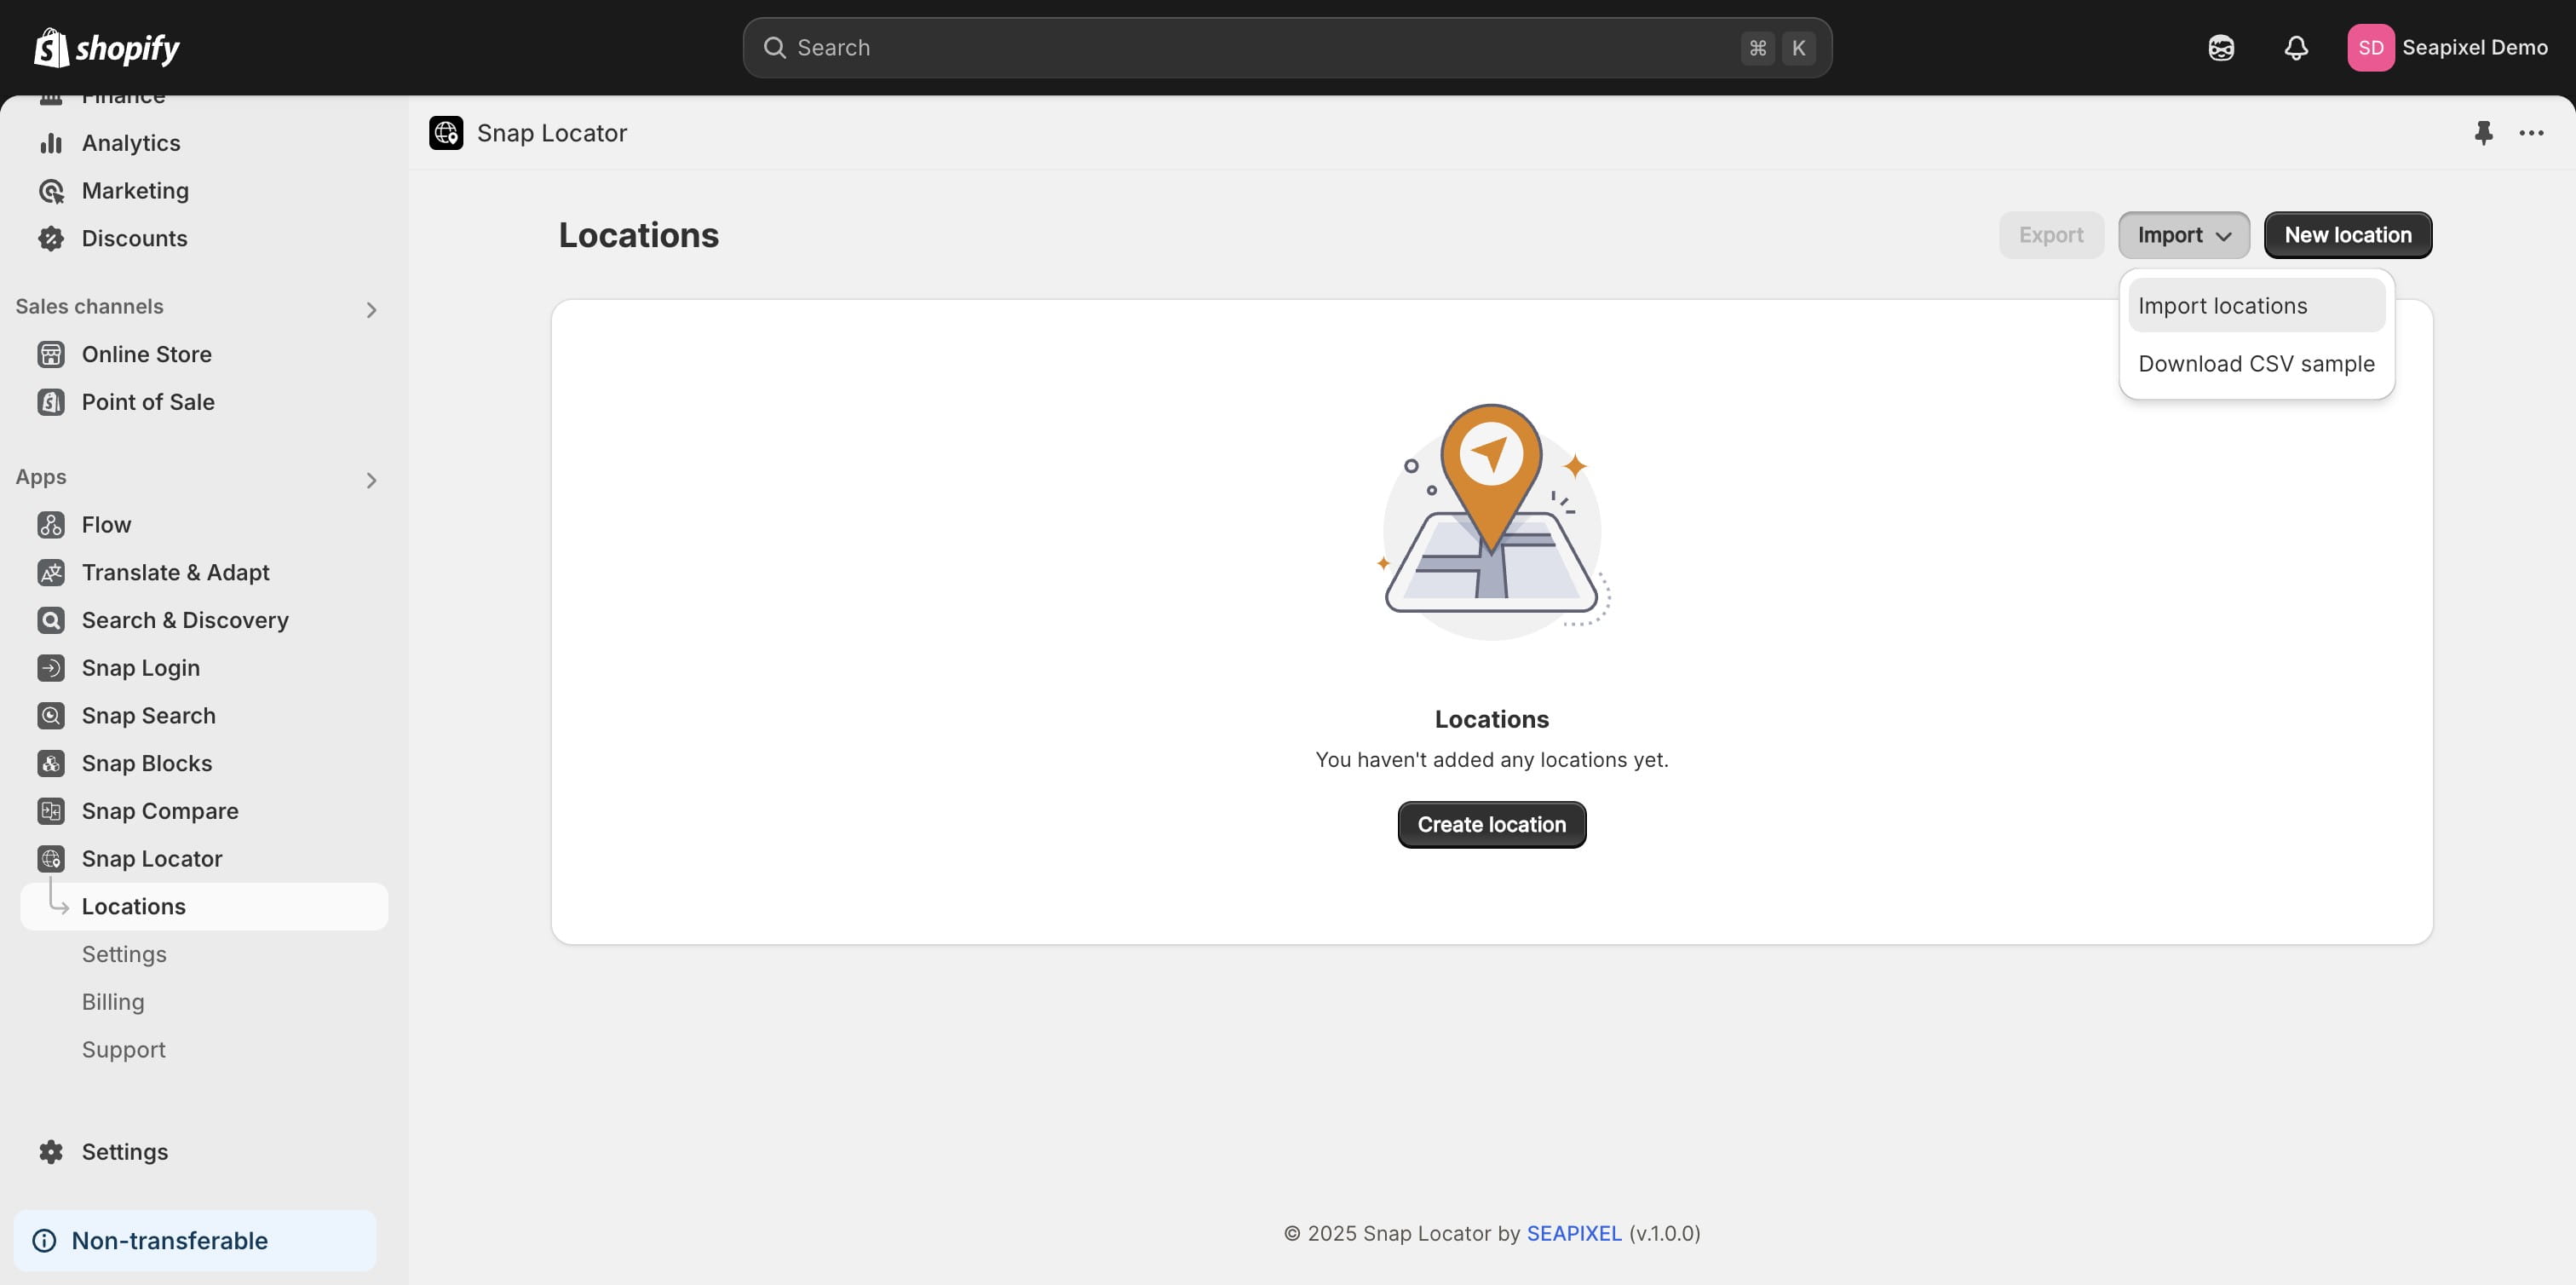
Click on "Import locations"
Click on "Add file"
You can preview the first five rows of data before importing.
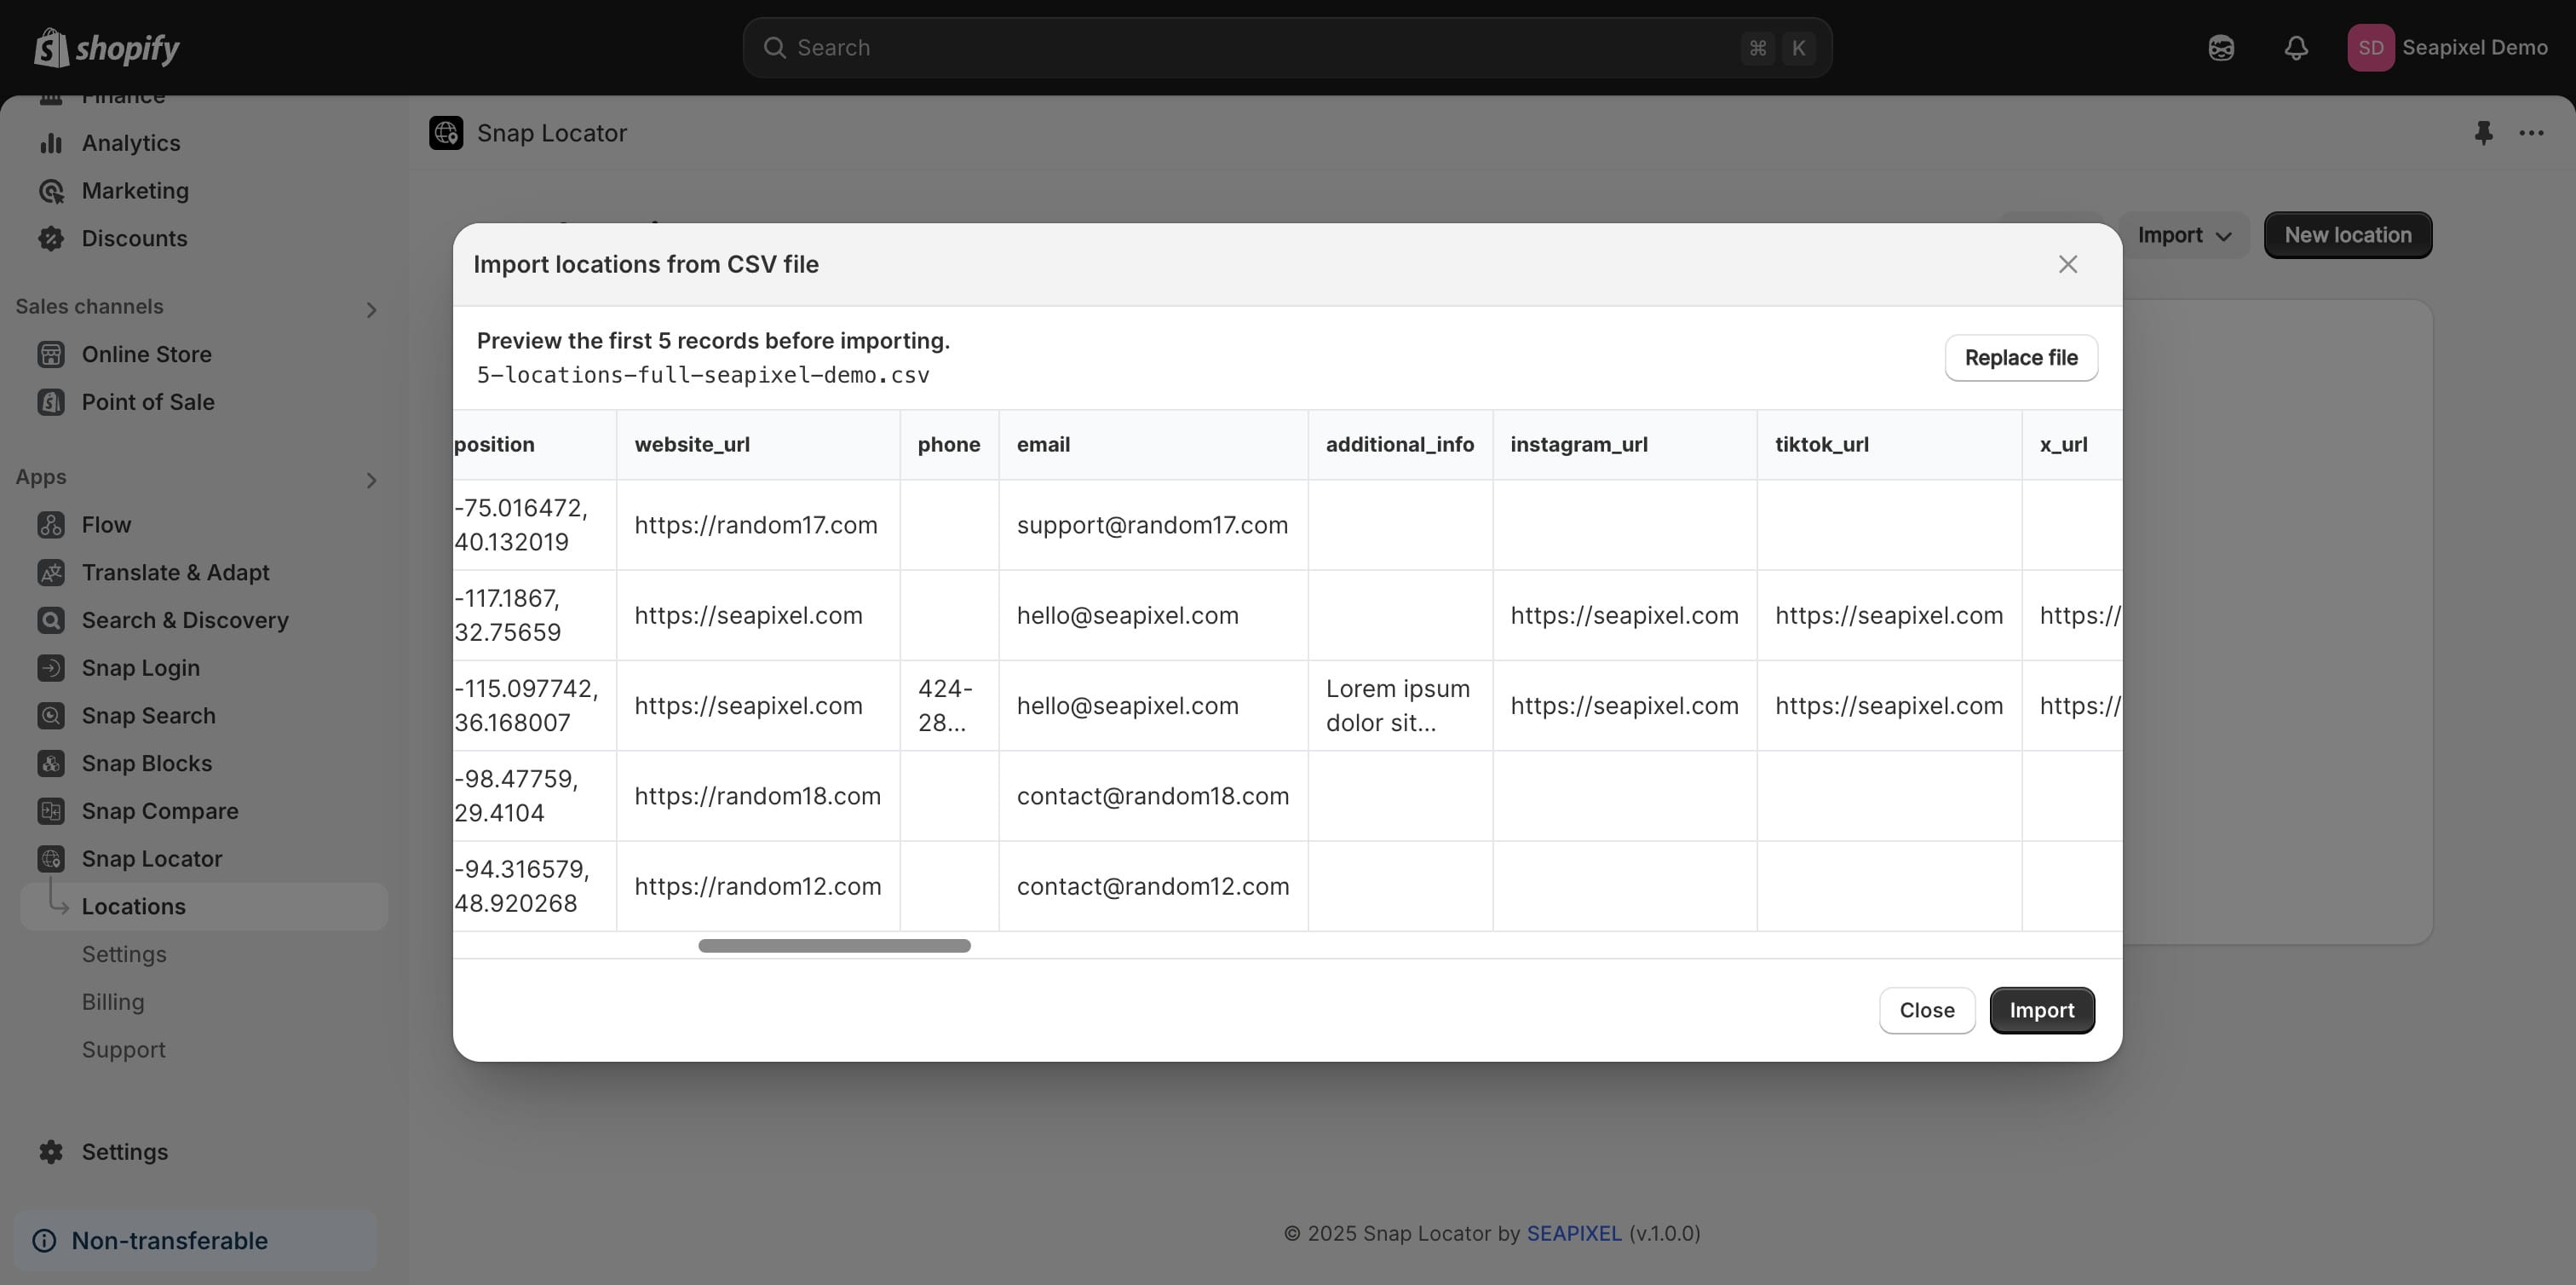
Click on "Import"

Done 🚀
Frequently Asked Questions
- Why should I download the CSV sample before importing locations?
The CSV sample file provides the correct format and required fields for importing your location data. Using the sample ensures your data is properly structured for the Seasipxel Snap Locator app.
- What does 'handle' refer to when adding a file?
The 'handle' field likely refers to a unique identifier for each location. Ensure that each location in your CSV has a unique and accurate handle to prevent import errors or data conflicts. If you leave it empty a random handle will be generated.
- What should I do if the location import fails?
If the import fails, double-check that your CSV file is properly formatted according to the sample, all required fields are present, and there are no errors in your data. Also, verify that the file size does not exceed the limit.
- Do I need latitude and longitude coordinates?
You don’t need to provide coordinates for each location. Just ensure you enter a complete address, and the import process will automatically geocode it to find the coordinates. However, if you're importing a large number of locations, including the coordinates can speed up the process.